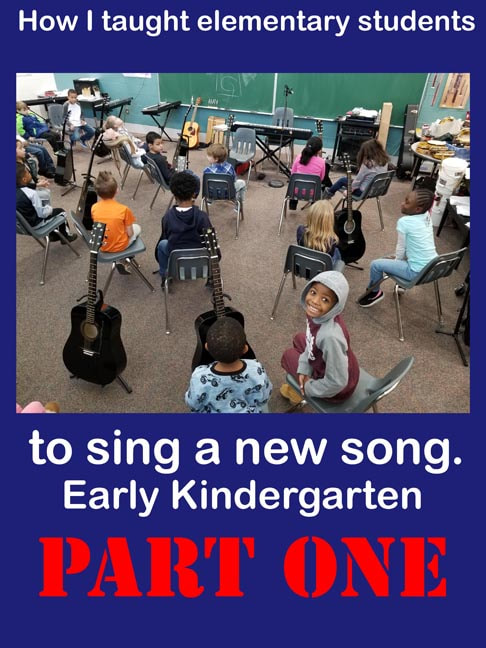
Required equipment:
An in-tune piano. A small grand would be best. Other than that, use a digital, something that allows you set up directly facing the class with no visual obstructions like when using an up-right.
A chalk or white board.
Guitar is optional.
The System: R.L.S.S
My system focused on four key steps:
read, listen, sing, and sing your best.
The goal was to create a beautiful ensemble singing sound – not to focus on theory, solfeggio, rhythm chanting, hand patterns, or movement. My approach was streamlined and created not only a great vocal sound but opened up found time to use on other music activities.
I wanted the singing experience to have emotional content; to be pleasurable, sequential, logical, and generalized to be used in other forums by the kids with other teachers or on their own.
KINDERGARTEN
Read
When I introduced a new song in kindergarten, the first step was read – as in read my lips.
I would sit behind the piano directly facing the class. I would tell the kids to look directly at my mouth as I moved my lips to the words of the song with no sound. This first step was done in total silence to help focus their vision on my lips. They were to learn how to copy how I looked when I sing before they copied how I sounded.
Could they figure out what I was singing?
Listen
I would go right into singing after I did the “read’ exercise. I played the single-note melody as I sang in that octave. If the kids started to sing with me, I would stop them, remind them that they were only supposed to be “reading” and “listening” and “memorizing the song with the memory in their brain” – “singing” was coming up soon.
When I sang the song, I modeled both the visual, aural, and emotional aspects of singing that I wanted them to copy: posture, physiognomy, smile, track the talker (S.T.A.R.), and the five components of big singing: No Hands on Face, No Screaming, Open Mouth, Move Your Lips, Move Your Tongue.
Sing
“Listen” mode would segue into “sing” mode with a full bouncy vamp.
I would sing as well as play both the melody and accompaniment as I watched the students’ mouths.
The second I noticed the best example of “big singing”, I would sternly stop the class, bring the child up to the piano, and ask if they knew why I called them up.
“Because you are a big singer. You do what I do. When you sing . . .
Are your hands on your face? No.
Do you scream?” “No.”
“Do you open your mouth?” “Yes.”
“Do you move your lips?” “Yes.”
“Do you move your tongue?” “Yes.”
“YOU are a big singer. Excellent!
May I give you a Mr. Holmes guitar pick for your excellent singing?” “YES!”
“Put your hands together and give her a hand!”
Now we are going to do all those good things to be big singers. We are going to sing our best! And what is the ONLY thing you should be watching when we sing?”
“Mr. Holmes’ mouth.”
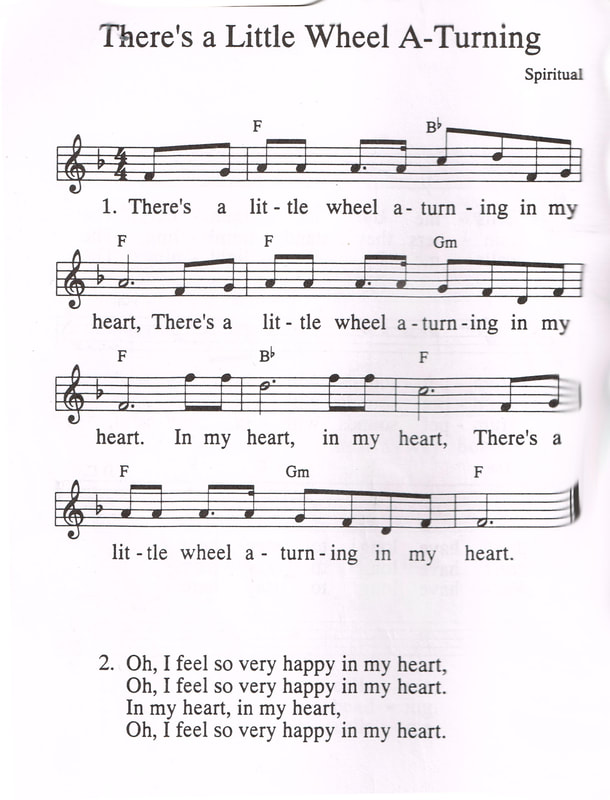
With songs like “Little Wheel” (which I did in C), I would have the kids move their hands in a rainbow shape on the long tones, specifically every time they sang the word “heart” to remind them to extend the vowel sound.
An in-tune piano. A small grand would be best. Other than that, use a digital, something that allows you set up directly facing the class with no visual obstructions like when using an up-right.
A chalk or white board.
Guitar is optional.
The System: R.L.S.S
My system focused on four key steps:
read, listen, sing, and sing your best.
The goal was to create a beautiful ensemble singing sound – not to focus on theory, solfeggio, rhythm chanting, hand patterns, or movement. My approach was streamlined and created not only a great vocal sound but opened up found time to use on other music activities.
I wanted the singing experience to have emotional content; to be pleasurable, sequential, logical, and generalized to be used in other forums by the kids with other teachers or on their own.
KINDERGARTEN
Read
When I introduced a new song in kindergarten, the first step was read – as in read my lips.
I would sit behind the piano directly facing the class. I would tell the kids to look directly at my mouth as I moved my lips to the words of the song with no sound. This first step was done in total silence to help focus their vision on my lips. They were to learn how to copy how I looked when I sing before they copied how I sounded.
Could they figure out what I was singing?
Listen
I would go right into singing after I did the “read’ exercise. I played the single-note melody as I sang in that octave. If the kids started to sing with me, I would stop them, remind them that they were only supposed to be “reading” and “listening” and “memorizing the song with the memory in their brain” – “singing” was coming up soon.
When I sang the song, I modeled both the visual, aural, and emotional aspects of singing that I wanted them to copy: posture, physiognomy, smile, track the talker (S.T.A.R.), and the five components of big singing: No Hands on Face, No Screaming, Open Mouth, Move Your Lips, Move Your Tongue.
Sing
“Listen” mode would segue into “sing” mode with a full bouncy vamp.
I would sing as well as play both the melody and accompaniment as I watched the students’ mouths.
The second I noticed the best example of “big singing”, I would sternly stop the class, bring the child up to the piano, and ask if they knew why I called them up.
“Because you are a big singer. You do what I do. When you sing . . .
Are your hands on your face? No.
Do you scream?” “No.”
“Do you open your mouth?” “Yes.”
“Do you move your lips?” “Yes.”
“Do you move your tongue?” “Yes.”
“YOU are a big singer. Excellent!
May I give you a Mr. Holmes guitar pick for your excellent singing?” “YES!”
“Put your hands together and give her a hand!”
Now we are going to do all those good things to be big singers. We are going to sing our best! And what is the ONLY thing you should be watching when we sing?”
“Mr. Holmes’ mouth.”
With songs like “Little Wheel” (which I did in C), I would have the kids move their hands in a rainbow shape on the long tones, specifically every time they sang the word “heart” to remind them to extend the vowel sound.
Feedback
It is CRUCIAL that you give feedback every minute at first.
SMILE when they get it right.
No, that is not a typo – every minute or even sooner if they need it. Use the “plus and minus” chart on the chalk board as I described in another post. Every time you put a plus or minus on the board, tell the class WHY they got it.
I would sometimes do “pilots and co-pilots” (see my post) and have them “face-to-face” where they sang to each other. Afterwards, they took turns telling their partner what parts of their big singing they liked when they watched them. More on these teaching variations in another post.
I’ll cover late kindergarten through fifth grade in “How I Taught Elementary School Students To Sing a New Song - Late Kindergarten to Fifth Grade.”
 RSS Feed