
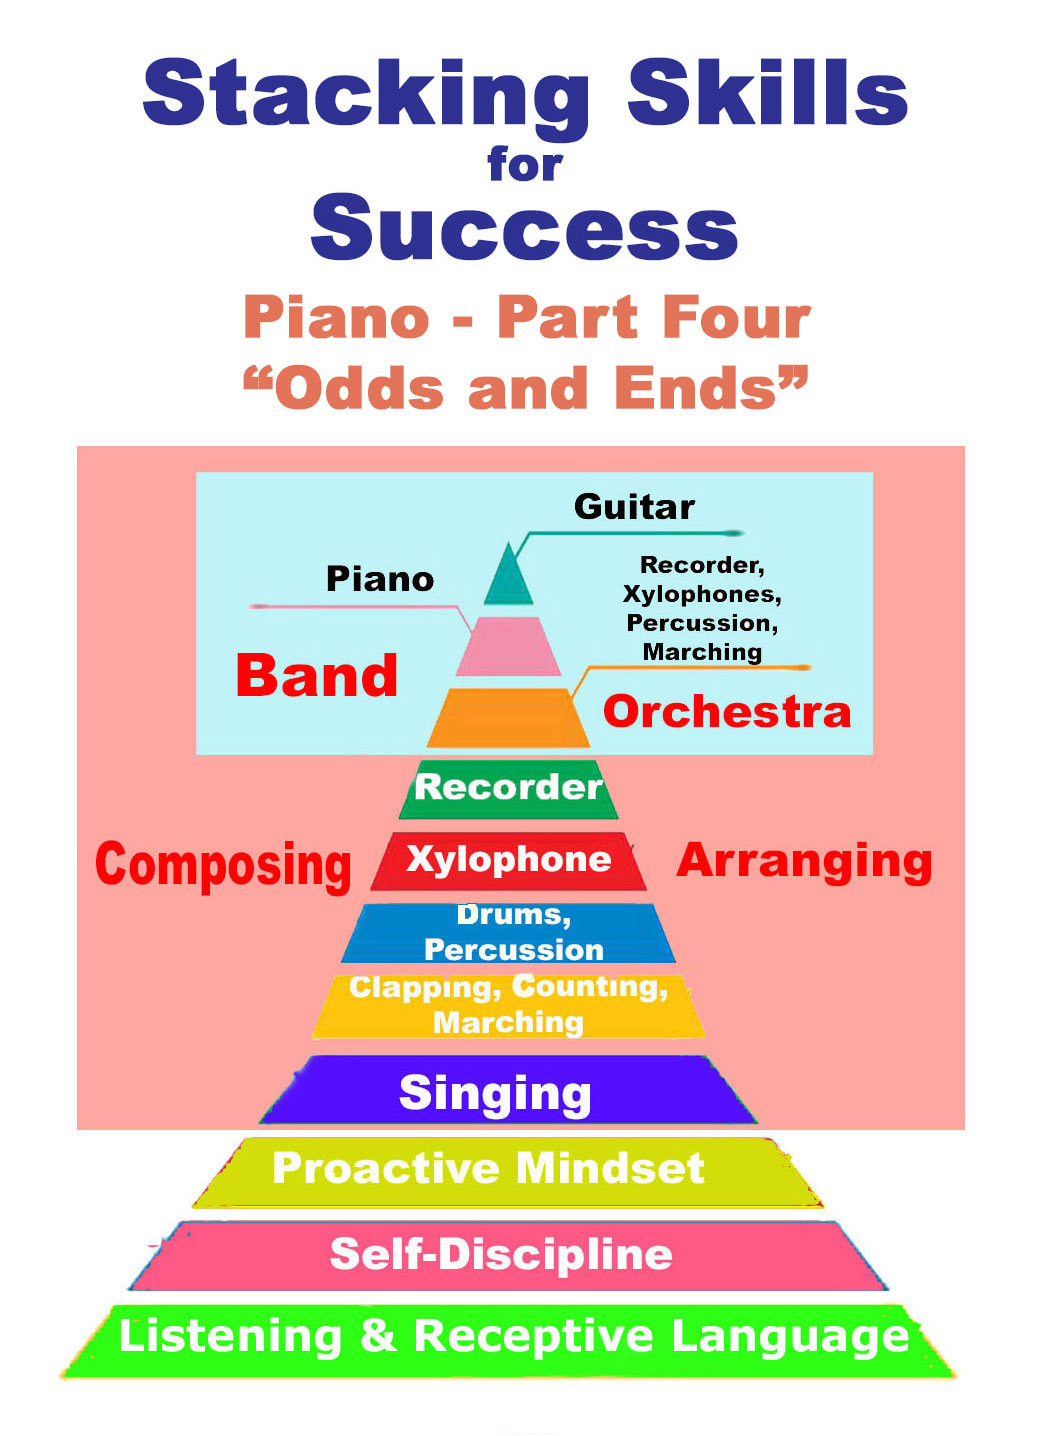
 BITS and PIECES
Best music room piano for the teacher: Any of the upper end Casio Privias. Don’t go cheaper than $700.00. Look for wooden-weighted keys. It will take a beating and continue to work. The samples are amazing. You’ll never have to get it tuned. Don’t overwork the internal speakers; use an amp or run it through a classroom PA. Buy a case. Yeah, with heavy daily usage, the keyboard will breakdown in about eight years but by then, you’ll be in a different school, right? Best sustain pedal for teacher's digital piano: M-Audio SP 2 - universal sustain pedal with piano style action for midi keyboards, digital pianos & more. Built like a tank. And when they fail, it is usually because of a screw that that has come undone inside the housing - a five minute easy fix. Worst music room piano for the music teacher: Any acoustic spinet or upright. Both create terrible sight-lines as well as too great a chasm between you and the class. It will be out of tune 99% of every day of teaching. Added detriment: your kids will learn to sing out of tune. Best gigging piano: Korg SV-2: Get the 88-key model WITHOUT speakers. Buy a keyboard amp. The best piano out there, bang for the buck. Tons of pre-sets. Killer Italian grand sound as well as classic Fender Rhodes and Wurlies. No, it’s not too heavy. Maybe you are too weak? Best keyboard stand for the teacher’s music room piano or the gigging piano: A double X-brace. You’ll need stability; don’t go with a single; get a double. Best overall piano books/series: Alfred Best source for budget a classroom keyboard lab: Ebay and Amazon. Do your homework. Look for bargains and wait for sales. Get 61-key electric keyboards with MIDI. Extra points if it has USB. I had a lot of different Yamaha models; they held up very well. Buy the keyboards first, then the single X-brace keyboard stands. You can put the keyboards on the floor for a while until you get the stands. Don’t use chairs; have the kids stand. And you don’t need sustain pedals. If you have them, don’t connect them for several months. Don’t loan them out. Don’t buy cases. Keep the packing boxes for storage in the summer months. Depending on how many keyboards you use, you’ll need extension cords and several 6-outlet, 200 joule, surge protector power strips. You’ll probably want a 6-inch power extension cable for each keyboard power wart. It will allow you to use all of the inputs on the power strips. The reason: a single wall-wart tends to take up the space for two inputs on power strips. Hardest truth to accept: Every year several keyboards will break from wear and tear. Does anything last with kids? Two big reasons for electric keyboards: MIDI (musical instrument digital interface) and USB (universal series bus): That’s how all electric keyboards (even the cheap ones) connect to computers, audio interfaces, DAWs (digital audio workstations) and soft synths (software synthesizers that are only computer code and don’t come with any hardware) like Pro Tool, Logic, and Reason. They don’t “roll tape” to record music these days. Recording is digital and electric keyboards are the primary way of inputting digital audio data. I grew up writing music with a pencil and paper and still do. On the other hand, I can do the “computer thing” and do it often– using DAWs as well as music notation software like Avid’s “Sibelius”. Tip: kids are using this stuff at home. MIDI and USB are the recent past, now, and future: it’s about time all music teachers embrace them, read the f***king manual, and get on board before the next musical interface comes along and replaces MIDI. Best gateway instrument for piano: A chromatic xylophone Biggest line of BS from music teachers getting fourth graders ready for band: “Everyone wants to play drums!” No kidding, Captain Obvious, especially if you have been emphasizing drums, tambourines, shakers, maracas, castanets, sticks, wrist bells, bongos, triangles, egg shakers, jingle sticks, and Boomwackers for the past four years in your music room and don’t have a keyboard lab. You reap what you sow. What every music teacher dreads hearing when introducing band instruments to fourth graders: Fourth grader (thinking about their keyboard or guitar at home): “No thanks, I’m good.” 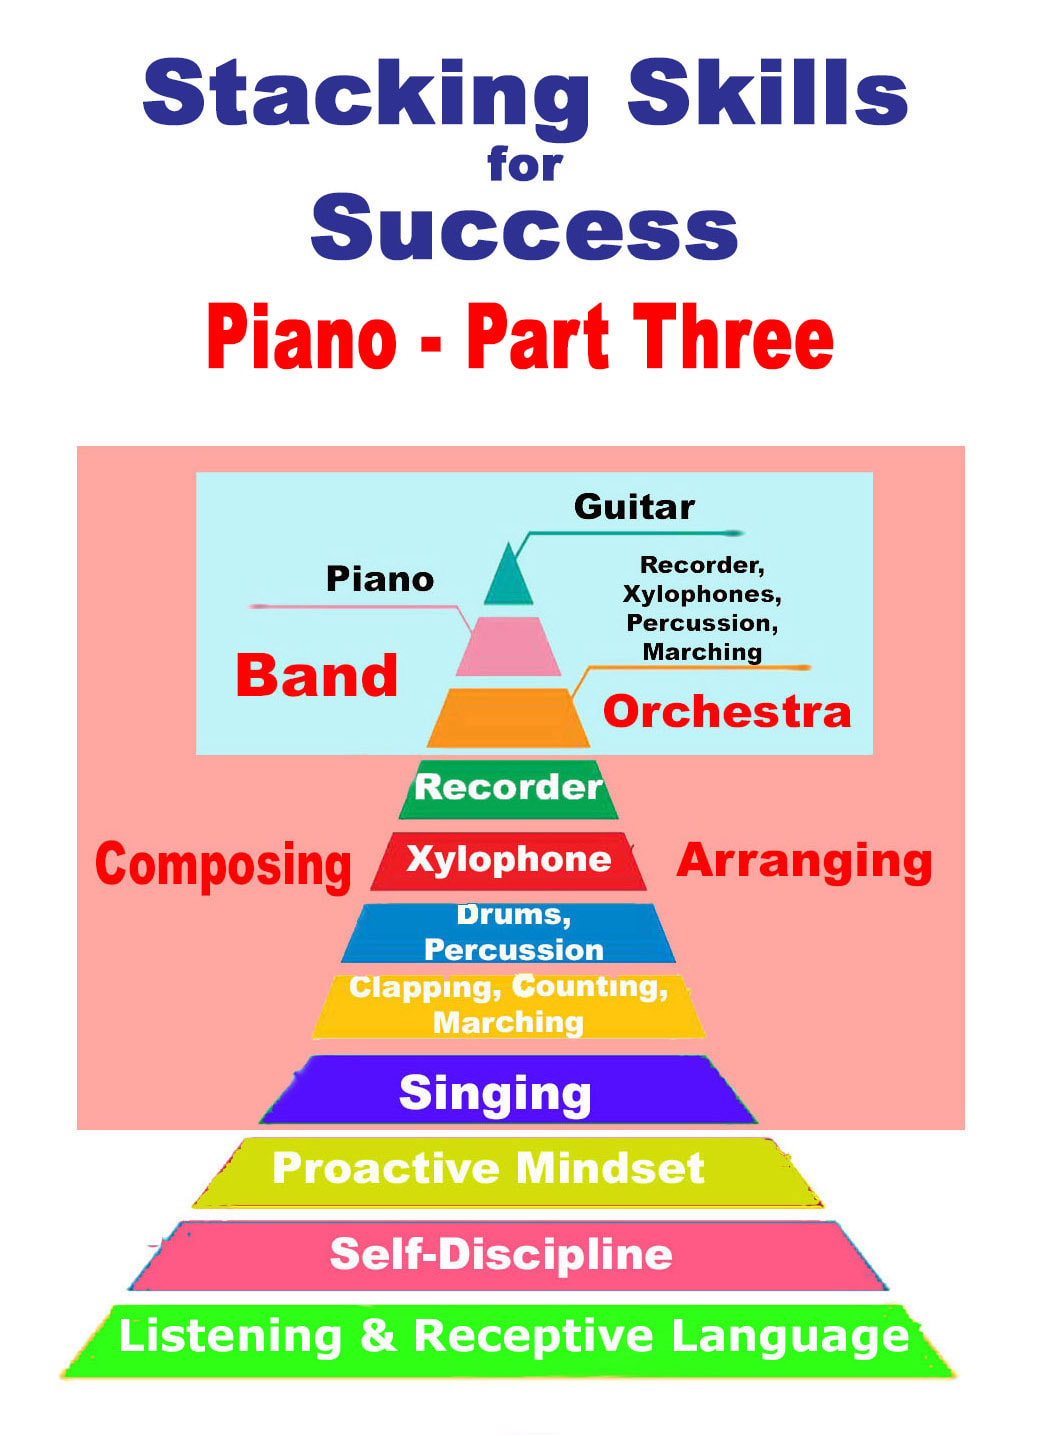 There's a reason why piano earned it's appellation as “king of the instruments”. Piano is one of the few instruments that can provide melody, harmony, polyphony, and rhythm with a multi-octave range. Next to familiarizing students to the core principles of my pyramid, namely, engaged listening, self-discipline, and a proactive mindset, introducing piano to entire schools, like Castle Hills Elementary School’s 600 students, New Castle Elementary School’s 700 students, or Wilbur Elementary School’s 1,200 students, was one of the greatest joys and accomplishments of my teaching career. Teaching piano to one child is much different than teaching to twenty-five students. Kids who parents have signed them up for piano lessons usually have some background with the instrument. When I was working in Title 1 schools, many of the children had never touched a piano before I introduced my music room piano lab. Much of what I was doing in my music room piano curriculum was playing developmental catch-up, especially with students’ fine motor abilities. Every kid deserves the opportunity to play piano, starting with what all little kids first love to do – “climb the mountain”. We started with “climbing the mountain”; starting at the bass side and sequentially playing each black key – no skipping allowed! - all the way to the “top of the mountain” and then back down the mountain. We would climb it again with the white keys and eventually chromatically with all the white and black keys in order. Want to use only your index finger the first few times you do it? No problem! Eventually I would demonstrate what using the index and ring finger looked like. And then introduce the thumb. Eventually we got to five fingers for five keys. I would invite the kids all around the electric piano so they could see my hands and fingers up close. Modeling at this stage was so important. “If you can make your hands look and move like mine, you have a great shot at sounding like me, too!” Our chromatic xylophones usually had a range of a tenth, with the low note being a C. I put a round red sticker on all of the low Cs and a yellow sticker on the high Cs. Correspondingly, I put similar stickers on all of our keyboards: blue on C3, red on C4, yellow on C5, and blue on C6. This facilitated easily and quickly switching back and forth from xylophone and piano. When two children shared a piano, it was easy to say, “The pilot uses the blue and red; the co-pilot uses yellow and blue”. They would immediately be ready to play in matched hand position. While I transferred and generalized music and concepts between the xylophone and piano at the outset, I didn't waste any time focusing on the polyphonic aspect of the piano, the ability to play multiple notes at the same time. There are some general music teachers, primarily band and orchestra players, that, when given the opportunity to work with a piano lab and a class of kids, dwell for inordinate amounts of time on playing single line melodies. While playing single-note lines is a desirable skill, one not to be scoffed at, it doesn’t take advantage of the core strength and ability of the piano – the ability to play many notes at the same time. Vocalists especially need the ability to play a melody occasionally to check themselves with pitches. I'm often disheartened when a vocalist needs me to play a melody on the piano that they need to sing. Every singer needs to be able to be able to plunk out melodies, maybe not performance worthy lines of music, but accurate pitches to help them learn lit. In elementary school, with the limited time that we had, much of our initial effort was spent nailing down those simple five note diatonic melodies, from C4 to G4, D4 to A4, and all the corresponding variations. But we quickly moved into polyphony, namely, intervals. While we always used five fingers over five keys on both hands, I would introduce intervals in a visual way. Let me give you an example. “Let’s play a song like “Hot Cross Buns” just with your right index finger. I know, I know! We're're breaking our 'five fingers on five keys" rule but just work with me! Now use your right hand index finger and your middle finger to make the shape of the letter “V”. Make sure you have a big space in between the tips of your two fingers as you form the V. That way there will be a piano key that doesn’t get pushed in between your index and ring finger. Now, when you play the first note of “Hot Cross Buns” with your index finger, the left side of the V, your right side of the V, your middle finger, will skip over the note F and play G. Don't those two notes make a pretty sound? Now keeping your fingers wide apart, let your index finger play the melody to “Hot Cross Buns” and allow your ring finger to travel along with it, always keeping that open space in between the two sides of the V.” I used another visual for teaching chords and, you guessed it - I used the letter “W”. After all, if I've already taught the letter V, why not generalize that to the letter W? As far as assigning fingers to chord tones on the piano, I wasn't that picky at first. I let kids experiment playing C, E, and G simultaneously with three fingers on either hand. We took advantage of a “theme with variation” paradigm on piano. That basic C chord was our theme. We had tons of variations on it: playing it with the right hand, with the left hand, with both hands at the same time, alternating back and forth, creating a three four rhythm, left-right-right, left-right-right, starting at the lowest end of the keyboard and playing the C chord toward the top, starting at the top of the mountain and playing the C chord going down, arpeggiating it going up or going down with either hand or both simultaneously. And all the while, we would be our repertoire of singing folk songs to our C drone chord. In many ways, I wanted kids to have the ability to play melodies and to branch out into beginning piano books as they got older but I also wanted them to be able to harp movable chords on the keyboard within several weeks. Harping is generally a guitar concept transfer to the piano. Just as guitarist primarily play harmonies, chords, and rhythm, the same can be done on piano to accompany a vocal or instrumental melody. Just ask Elton John, Billy Joel, John Legend, or Alicia Keys. Kids, as well as adults, love being able to play chords and sing songs. That was the goal. Not to necessarily be a virtuoso but leave that option open for the future, to be conversant with the instrument, to make a sound that makes the performer as well as the listener smile. To acquire the skills to make music for the rest of their lives. Catch me next time in “Stacking Skills for Success: Piano - Part 4”!
 Playing piano requires a positive mindset.
Sure, the notes are important but feeling good about playing them is even more important. These are the top thirteen ideas I emphasized with kids, the stuff I wanted them to take away from their experience with piano. 13. If you can play xylophone, you can play piano! 12. Respect the piano and it will respect you. 11. You don't need a partner or a team to play piano, just you and a piano! 10. You can travel the world, walk into a strange room with strange people, and if there's a piano there, you can sit down, play a song or two, and within a minute, you'll find you have a lot of new friends. 9. Sure, you have ten fingers but most of the time, you’ll only be using only three or four at the same time. Only four fingers? You can do it! 8. Don't worry if some of it seems tricky right now. Give it some time, give it a rest, come back to it when you feel fresh, and you'll probably be able to figure it out. 7. You don't need a real fancy, expensive piano to make music, but if you want one someday, maybe you'll get one! 6. Don't worry if you want to take some time off, that's okay. Just come back to it later when you feel ready for it! 5. If you can read and follow directions, you can learn how to play piano! 4. There are lots of YouTube videos to help you figure out how to play piano. 3. The reason we play piano is to play songs we like, not songs someone else likes. 2. You can do this! And the number one thing I wanted kids to remember . . . Piano is fun! And if that’s not enough . . . You can make up your own music on piano! Look for more piano stuff in “Stacking Skills for Success: Piano – Part Three”.  By now, you have figured out that the instruments that most adults play are at the top of my success pyramid: piano, band and orchestra instruments, and guitar.
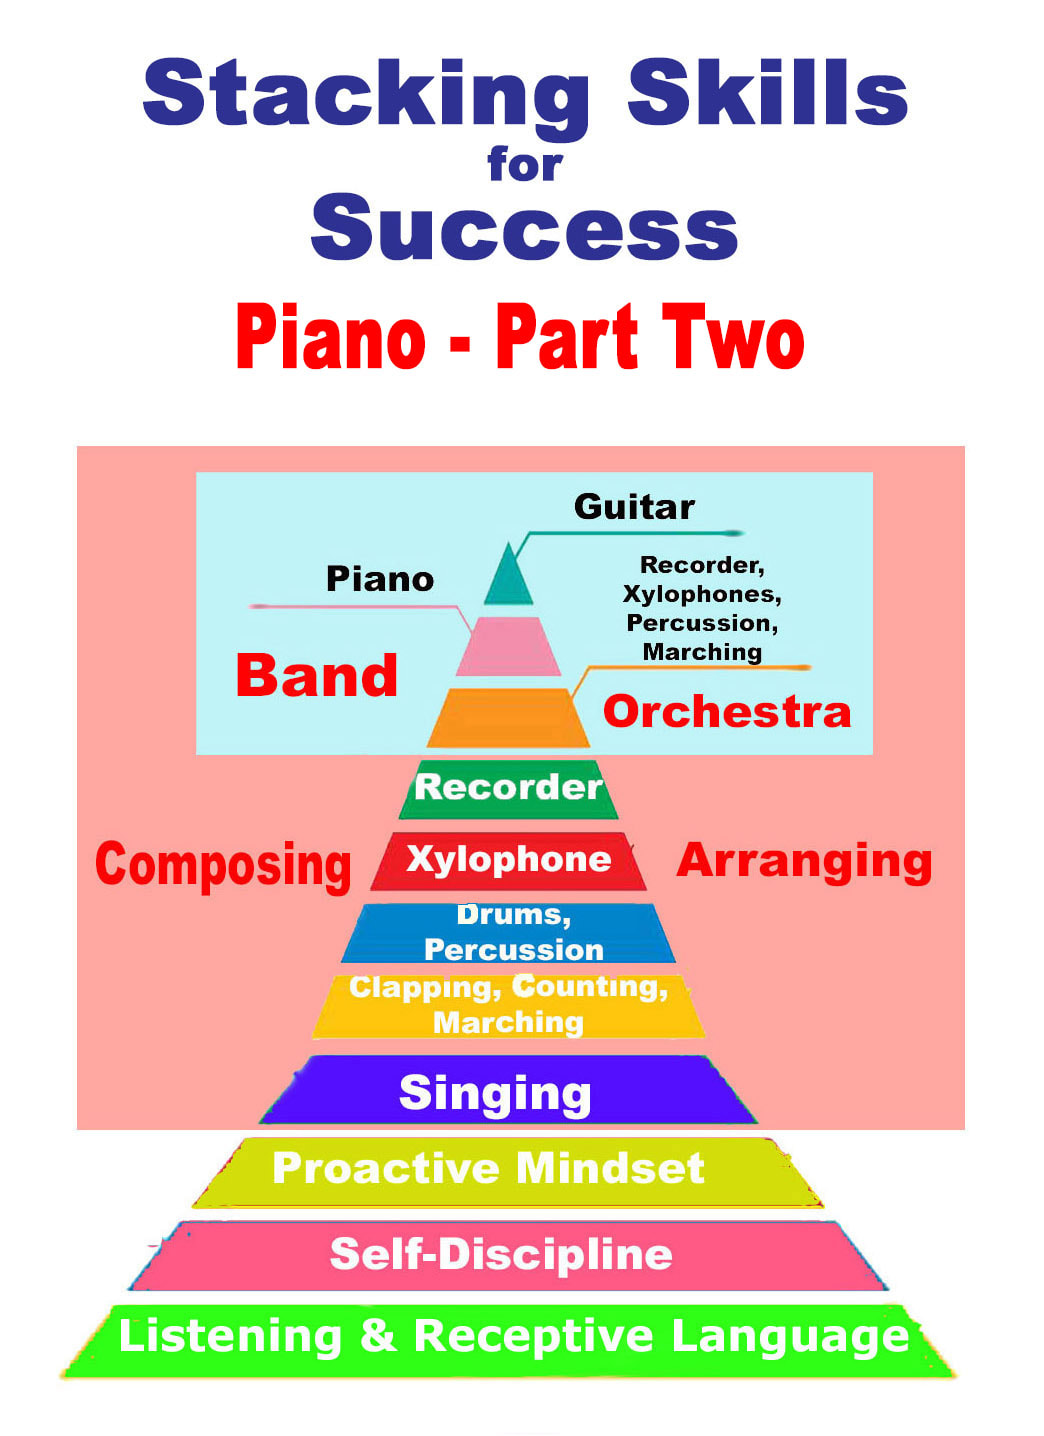
There's a reason for that. My idea is to always be building towards music that can continue after students leave my classroom and school. I'm teaching music for life, not for the week or for the year. Piano plays such a crucial role. How does piano fit into your program? I learned early on if there was one instrument I needed multiples of in my classroom, it was piano. The first piano lab I had used in my classroom had mini key pianos which was better than no pianos at all. The next piano lab I put together had six upright piano that were donated by families as well as seven-teen 61-key electric keyboards with full size keys for each keyboard. For the last third of my career, I did some informal data collection concerning kids and pianos. I was teaching in Title 1 schools. I found that in several of these schools, only 26% of the kids had ever touched a piano before, which is sort of a bizarre fact given that they were taught music in public school music rooms that all contain a piano. When many kids first approached a piano in my room, they attempted to play it with only their thumbs, as if they were texting. I had a hard time believing what I was seeing. Then again, consider this exchange I had with a music educator who was vacating their music room because they had been assigned to a new school. I was coming into the room as they were carting out their last box of personal materials. It was a standard elementary music room in our district: lots of hand percussion, old chromatic xylophones in need of repair, five badly out-of-tune auto-harps, over two dozen Orff tone-plate instruments, one upright piano, and no guitars. As we were making small talk about the program, the teacher suddenly got agitated. “Whatever you do, don't let these kids touch that piano, because all they do is bang on it!” It seems such an odd statement for a teacher to make. I did a lot of piano playing that first month to model what playing a piano looks like. I knew I had to model before attempting to change the piano culture in the school. I took time – but things changed. We “played” on paper pianos before ever using the real pianos. That was ostensibly so the kids could prove to me that they understood proper technique and hand positioning. In reality, they were demonstrating to me that they had learned to respect the instruments. This is what I ended up telling those students: “When you do respectful things, you will be respected. Treat the piano with respect and, in turn, the piano will show you respect. Hit it, bang it, treat it with disrespect, it will shame you in front of all who hear you try to play. It will make you sound like a 10-cent whistle and, even worse, make you look like a spoiled toddler. Respect it, learn how it wants to be touched, give it time, treat it like a friend, don't ever give up on it, and the piano will make you sound like a million bucks, look like a winner, and be your friend for life.” More on piano in “Stacking Skills for Success: Piano – Part Two”. |
AuthorBoyd Holmes, the Writer Archives
February 2025
Categories |


 RSS Feed